 Ever had to work all day,
or even all weekend raking a large area, and/or digging holes or
trenches? The blisters on your hands and fingers can hurt for a week,
turning even the simplest of everyday activities into a new experience in pain.
Ever had to work all day,
or even all weekend raking a large area, and/or digging holes or
trenches? The blisters on your hands and fingers can hurt for a week,
turning even the simplest of everyday activities into a new experience in pain. I work behind a desk five
days a week, and the hour or two per week I spend mowing the lawn is
nowhere near enough to make my hands tough and keep them that way.
So when the fire department gave me only 14 days to clear the 3' tall wild
grass and thistles out to 100' from my house (a job usually done by a guy on a
tractor) it could've been a recipe for turning my hands into chopped
meat.
I work behind a desk five
days a week, and the hour or two per week I spend mowing the lawn is
nowhere near enough to make my hands tough and keep them that way.
So when the fire department gave me only 14 days to clear the 3' tall wild
grass and thistles out to 100' from my house (a job usually done by a guy on a
tractor) it could've been a recipe for turning my hands into chopped
meat.
Fortunately, about a year
ago I discovered a way to cheat those blisters. After borrowing the
maintenance man's old rake a few times I broke down and bought my
own. One day, having used my new rake for a few hours to
rake a large area, somehow I ended-up with the old rake in my hands again, and
I felt the difference after only a few minutes.
 That’s when it dawned on me: it's not the work, it's the condition
of the handles on those tools that destroys your hands!
That’s when it dawned on me: it's not the work, it's the condition
of the handles on those tools that destroys your hands!
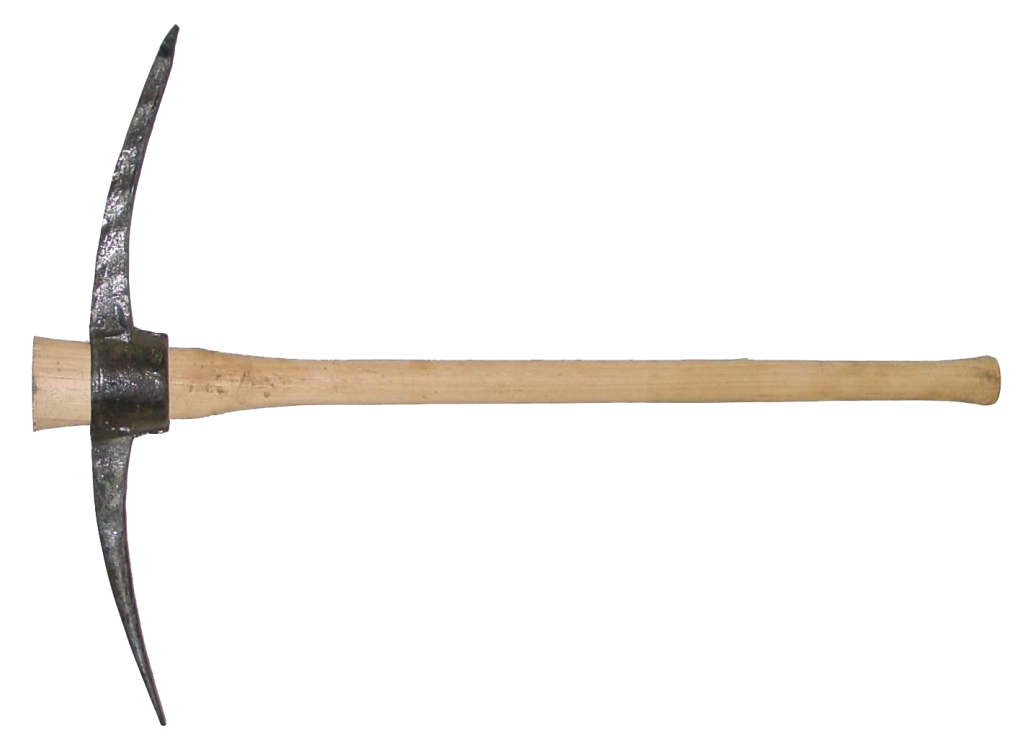
It's very common for the
wooden handles on garden tools to crack along the grain of the wood with
age and exposure. For many years, like most people, I thought nothing of
it. But when you think about it, it
makes logical sense: those longitudinal cracks are a worst-case surface to grip
with the skin on your hands – squeeze tight, move back and forth against
resistance – absolute worst case. (Well,
broken glass or razor blades would be worse, but of things most people would
pick up without a second thought, cracked wood is worst-case.)
Fortunately those cracks
are as preventable as they are destructive. By
investing only 10 minutes per tool every six months, you can keep
those handles smooth and crack-free -- and that in turn will save your
hands from pain, no matter how much yard work gets dumped onto your lap.
(In reality a more descriptive title would've been, "how to
maintain your garden tools with wooden handles," but who would've
read that?)

- The secret is to always keep a coat of urethane on the wood;
any time that finish starts to flake or peel, it needs to be renewed.
- Sand the handle with medium-to-fine grit sandpaper. A
small power sander makes it much easier, especially if much damage is
already done. Sand the handle until it's reasonably smooth, but you
don't need to take it all the way to bare wood, unless the wood has turned
gray under the coating.
- Wipe the dust from sanding off with a rag dipped in mineral
spirits or turpentine -- even a barely damp rag will do in a pinch (but if
you use water you'll need to let it dry before applying urethane.)
- Shake or stir the urethane well before applying -- I know that
shaking a can of urethane causes air bubbles in it that can be a problem
for fine finish work, but these are garden tools, let's get real about
it. I have a separate can of urethane in my workshop just for tool
handles, so i don't have to worry about bubbles or dirt getting into it.
- If possible use marine grade urethane, it's more expensive,
but it's highly UV-stable and weather-resistant. A quart of it will
be enough to take care of an average set of tools for many years.
- Apply a thin coat of urethane to the wood, let it dry for
30-60 minutes, then apply another thin coat; if it's all absorbed by the
wood, repeat this step until that's not the case. I usually just
snap on a rubber glove, dip a paper towel in the urethane and then wipe it
on the handles, it's fast, cheap and easy, no brushes to clean.
- If you put it on too thick, and there are any runs or
drips, wait a day or two for it to completely dry, sand-down the drips,
and apply another thin coat.
- Let your handles dry for half a day, and you should
be good to go for a season or two!
- If any of the handles are cracked so deeply they can't be
sanded smooth, consider replacing just the handle, not the whole
tool. (A handle costs about 1/3 as much, or less, depending on
the tool.)
- If you leave a tool in the sun for any length of time the
urethane will degrade more quickly, so keep them out of the sun as much as
possible, and apply extra coats when not.
- Note that as the can of urethane gets used up, it may start to dry up on you. This can be avoided by transferring it to soft plastic bottles, and squeezing the air out when sealing it after use. (It's the air in the can that causes the problem.)
No comments:
Post a Comment